How to Restrict a Website on Google Chrome (2025 Update)
In this tutorial, we will show you exactly how to restrict a website on Google Chrome in just a few simple steps. Read on to learn more.
Restricting a Website in Google Chrome
Follow the steps below to restrict websites in Google Chrome.
1. Open the Chrome Web Store to Search for a Website Blocker Extension
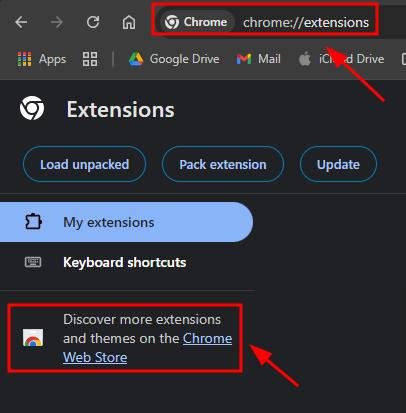
Open Chrome and go to the Web Store by typing “chrome://extensions,” then click “Chrome Web Store” to find a website blocker extension.
2. Search for and Choose a Website Blocking Extension Like BlockSite
In the Web Store, search for extensions such as “BlockSite.” These will allow you to block or restrict access to specific websites. Click on it to select the extension.
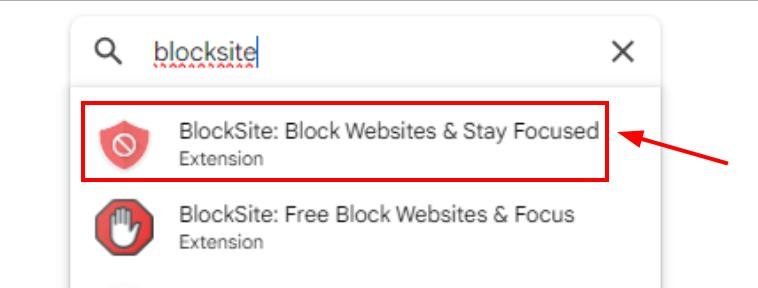
3. Install the Extension and Add It to Chrome
Click “Add to Chrome” to install the selected extension. Follow the setup instructions to get it running in your browser.

Select “Add extension” to finish adding the extension to Chrome.
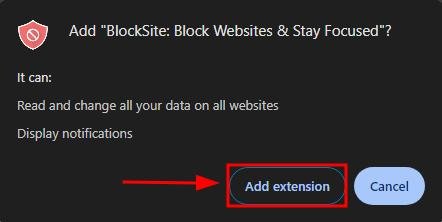
4. Configure Blocked Websites via the Extension’s Settings
Click the puzzle icon in Chrome’s toolbar and go to the “BlockSite” extension.
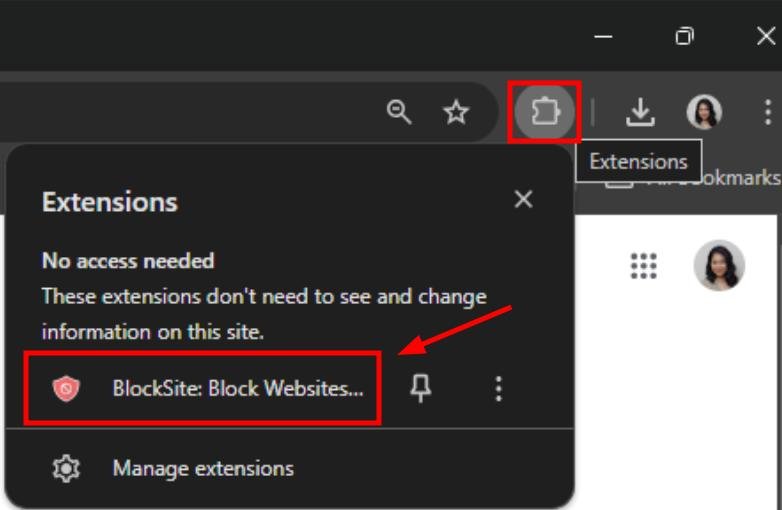
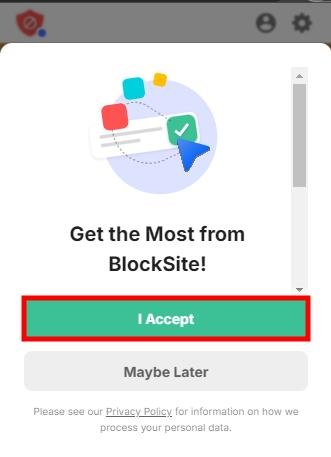
Tap on “I Accept.”
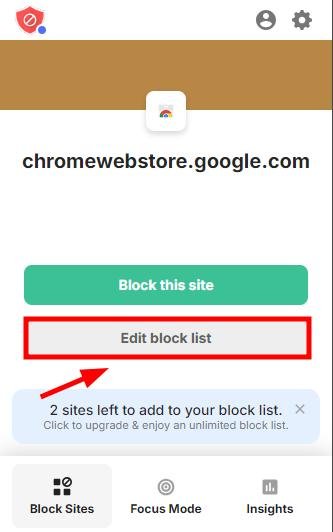
To edit restricted websites, click on “Edit block list.”
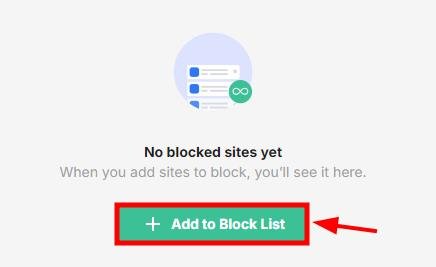
Select “Add to Block list.”
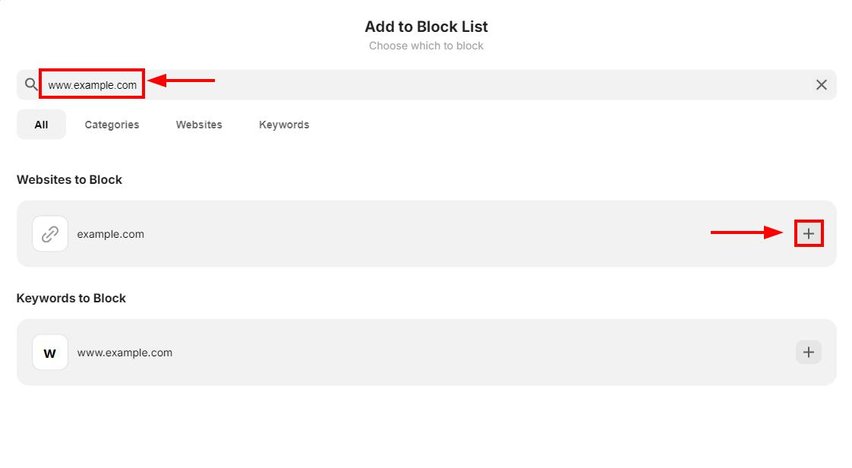
Search for the specific website you are going to restrict then click the “+” icon beside the website to add it to your block list.
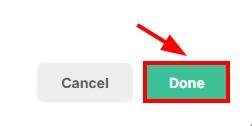
Click “Done.”
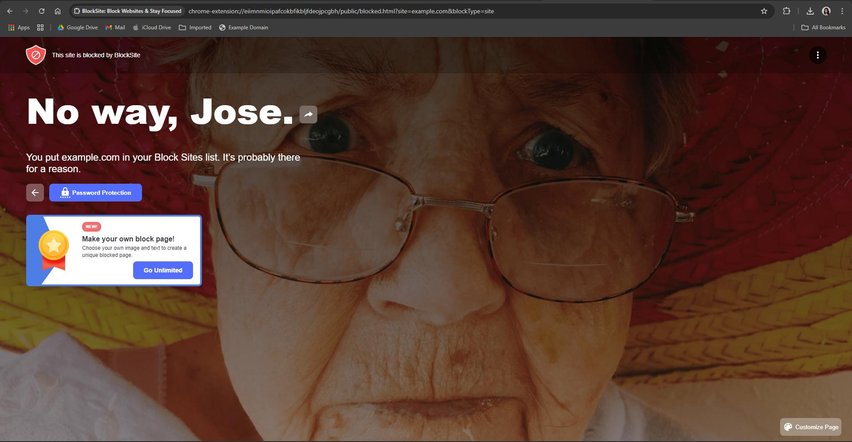
Then test the website if it has been restricted, you will see a similar message just like the image below if you successfully blocked the website.
We hope that you now have a better understanding of restricting websites on Google Chrome. If you enjoyed this article, you might want to check our articles on how to fix website icons not showing in Chrome and how to resolve a website that crashes in Chrome.

