Export Chrome Settings (Easiest Way in 2025)
In this article, we will show you how to export Google Chrome settings. Simply follow the steps below.
How to Export Chrome Settings
Here’s how to export Chrome settings:
1. Navigate to Google Chrome’s Settings
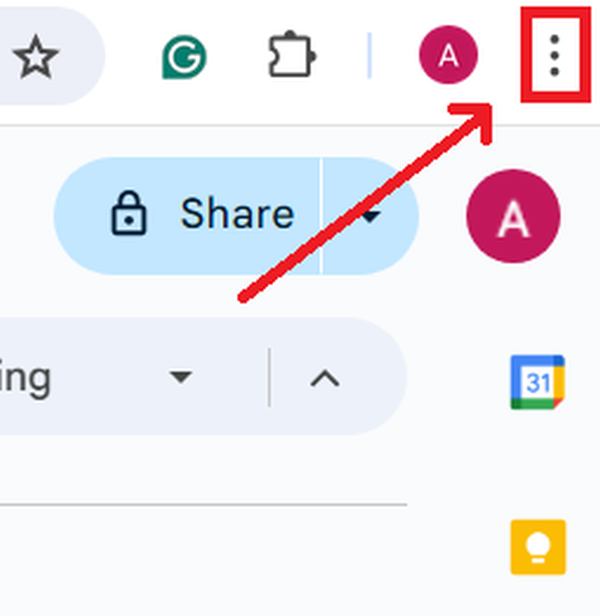
Look for the three vertical dots in the upper right corner of the window. This is the main menu button. Click on it to reveal a dropdown menu.
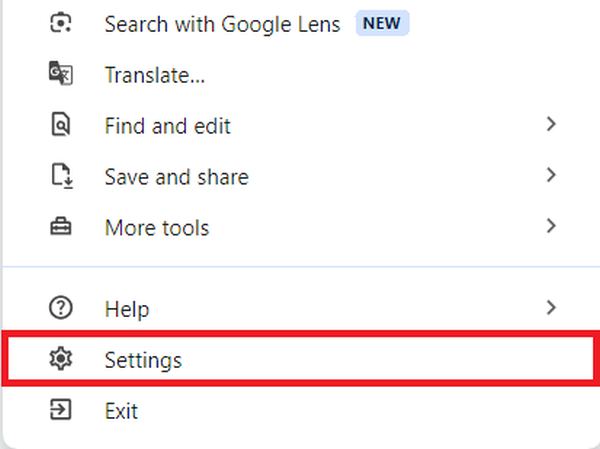
From the menu options, choose ‘Settings’ to access your Chrome browser’s settings page. This page allows you to adjust your browsing preferences, including your sync settings.
2. Locate and Enter ‘Sync and Google Services’ in Chrome Settings
Once you’re in the Settings menu, find the ‘You and Google’ section. This section is dedicated to personalizing how you interact with Google services through Chrome.
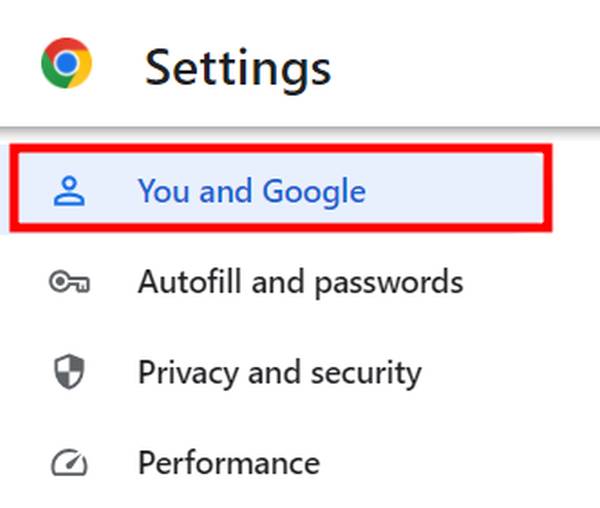
Click on ‘Sync and Google services’ to proceed. This will take you to a new page where you can manage your synchronization options and other Google service settings.
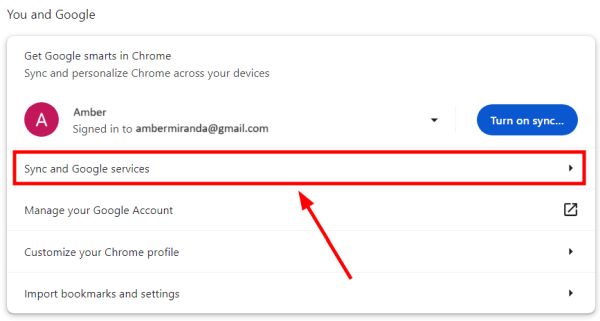
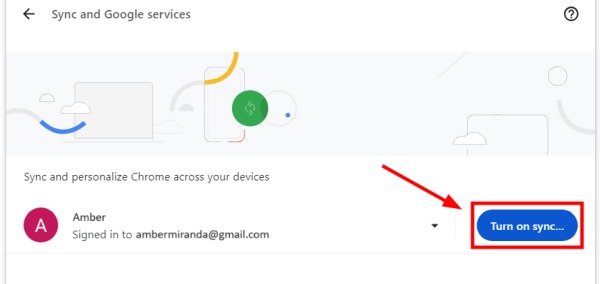
3. Enable Syncing by Clicking ‘Turn on sync…’
In the ‘Sync and Google services’ section, if you have not yet enabled syncing, you will see a button labeled ‘Turn on sync…’.
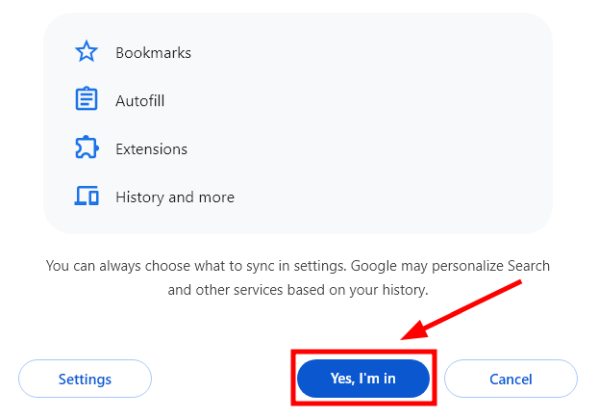
4. Confirm Sync Settings by Selecting ‘Yes, I’m in’
Click ‘Yes, I’m in’ to confirm and activate sync. By doing so, you enable Chrome to back up and sync your bookmarks, autofill information, extensions, and other browsing data across any devices where you sign in with your Google account.
5. Access Google Dashboard to View and Manage Synced Data
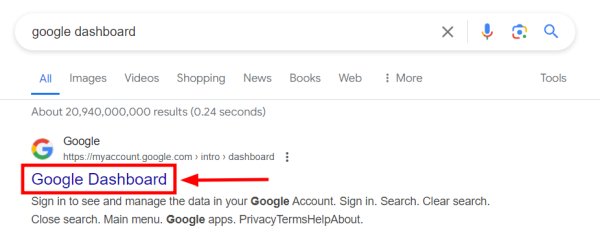
To view and manage the data you have synced, open a new tab in Chrome and type ‘Google Dashboard’ into the search bar. Make sure to log in with the same Google account that you use to sync your Chrome data.
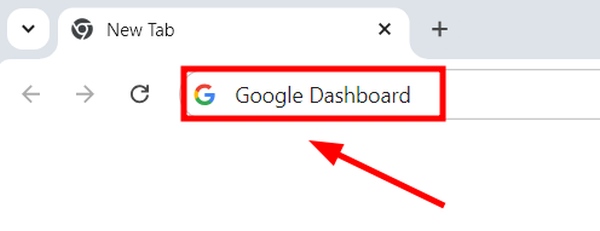
After the search results appear, click on the first link that usually appears under the title “Google Dashboard” to navigate to this site. The Dashboard provides a detailed overview of all your synchronized data across Google services.
6. Download or Export Synced Chrome Data from Google Dashboard
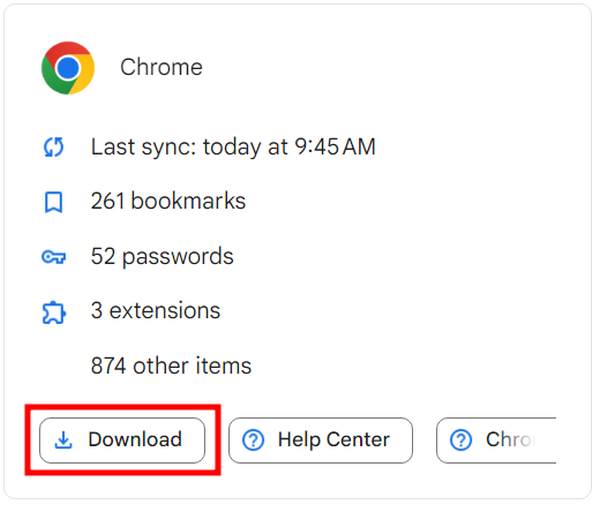
In the Google Dashboard, look for the ‘Chrome’ section, which will display detailed statistics of your synced data, such as bookmarks, passwords, extensions, and other items. Find and click on the ‘Download’ button in the Chrome section of the Google Dashboard.
7. Select Chrome Data to Include in the Export
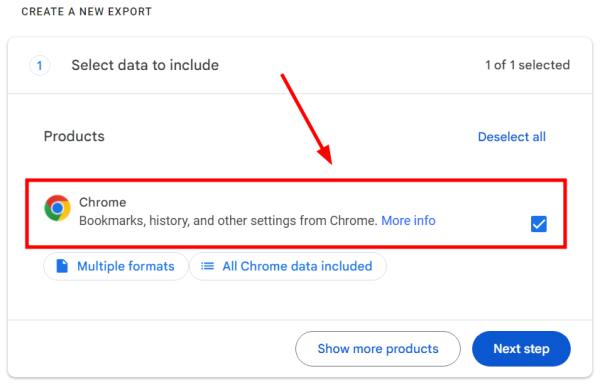
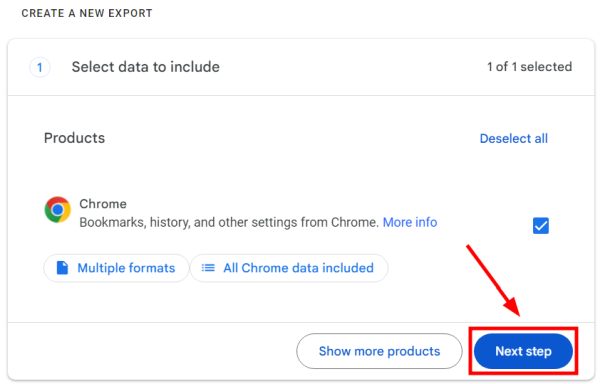
On the export page, ensure that ‘Chrome’ is selected, which includes bookmarks, history, and other settings.
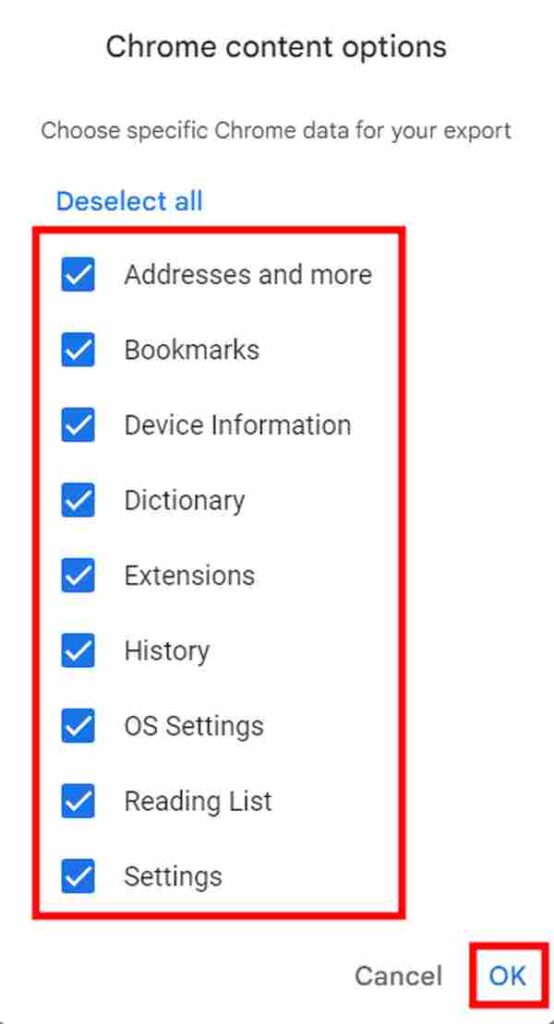
If you wish to select specific parts of Chrome to download, click ‘All Chrome data included’ to expand the selection menu.
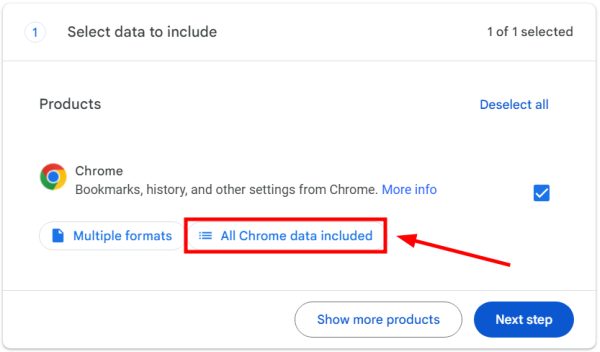
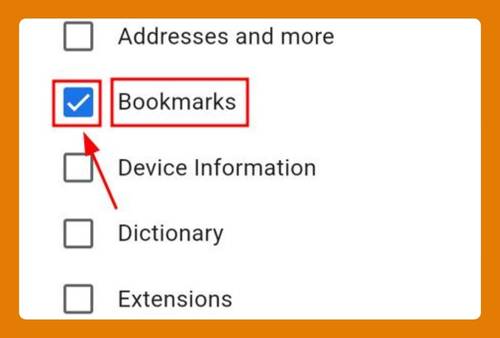
In the menu that appears, tick the boxes next to the specific items you want to include in your export, such as Bookmarks, History, or Extensions. After making your selection, click ‘OK’ to confirm your choices.
Then, click ‘Next step’ to proceed with customizing your export settings.
8. Choose File Type, Size, and Export Frequency
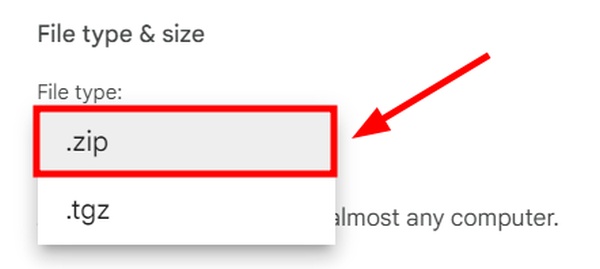
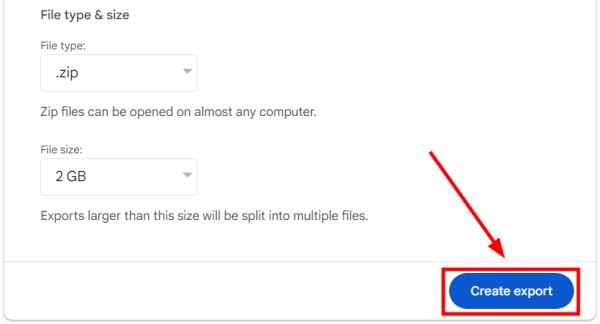
On the following page, choose the format of the export file. Common options are .zip (compressed folder, more widely used) or .tgz (tarball archive, often used on UNIX-like systems). For our example, we will select .zip for broader compatibility.
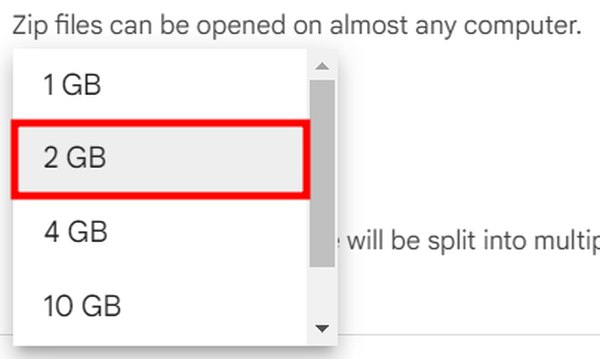
For the file size, depending on the amount of data you’re exporting, you may choose the maximum file size for each download. For example, we will choose 2GB.
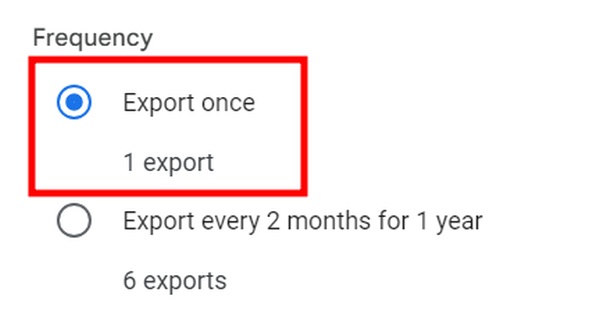
Then, decide if this is a one-time download or if you require recurring exports. For most personal uses, a one-time export is sufficient. Select ‘One-time export’ unless you need periodic updates for your data.
9. Select Destination for Download
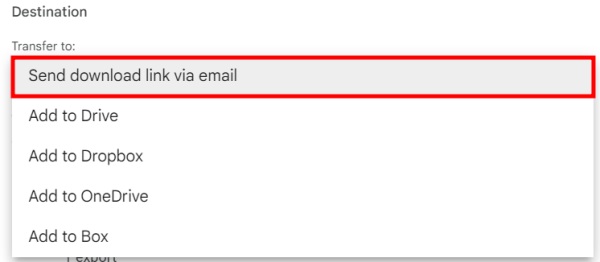
You will then decide where the exported data should be sent. In our example, we will choose to receive a download link via email for a straightforward download.
10. Confirm and Initiate the Export
Click ‘Create export’ to begin the process. Google will prepare the export and notify you once the data is ready to download.
We hope that you now have a better understanding of how to export Chrome settings. If you enjoyed this article, you might also like our article on how to adjust Google Chrome new tab settings or our article on how to reset Chrome settings.

