Google Chrome Mouse Settings (The Ultimate Guide for 2025)
In this tutorial, we will show you exactly how to manage Google Chrome’s mouse settings in just a few simple steps. Read on to learn more.

Managing Google Chrome Mouse Settings
Follow the steps below to manage mouse settings in Chrome.
1. Click the Three Vertical Dots in Chrome’s Top-Right Corner
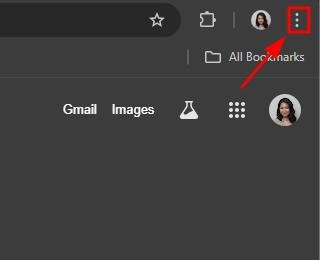
In the top-right corner of your Chrome browser, locate the three vertical dots (Chrome menu icon). Click on these dots to open a drop-down menu with various options.
2. Select “Settings” from the Drop-Down Menu
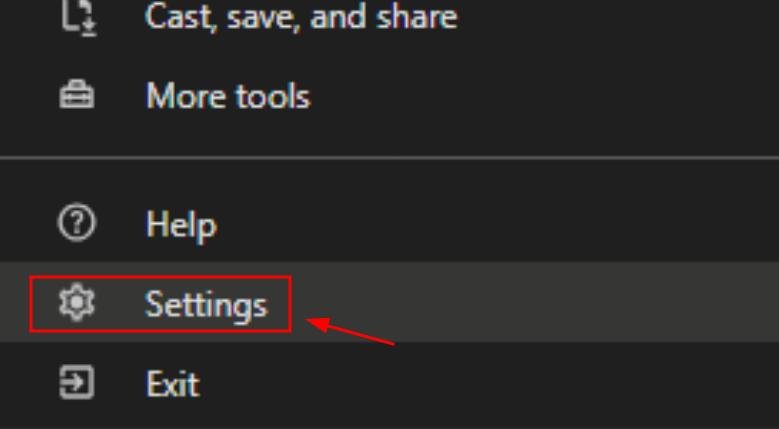
From the drop-down menu, scroll down and click on “Settings.” This will open Chrome’s settings page in a new tab where you can access a variety of configuration options.
3. Scroll Down and Click “Accessibility”
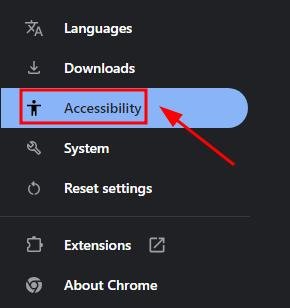
On the Settings page, scroll down until you see the “Accessibility” option on the left-hand side. Click on “Accessibility” to enter the section where you can adjust features like mouse settings and cursor behavior.
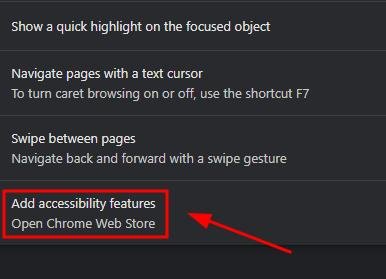
4. Enable “Navigate Pages with a Text Cursor” in Chrome
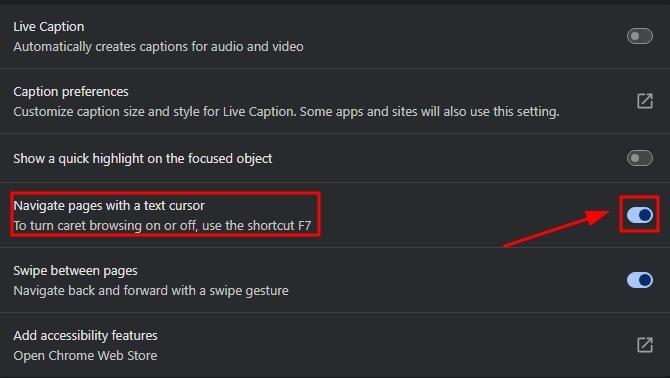
In the Accessibility section, find the option “Navigate pages with a text cursor.” This lets you move through web pages with a text cursor, making it easier to select text using your keyboard. Toggle the switch to enable it.
5. Click “Add Accessibility Features” to Install an Extension
In the Accessibility section, find and click “Add accessibility features.” This will open the Chrome Web Store, where you can explore accessibility tools.
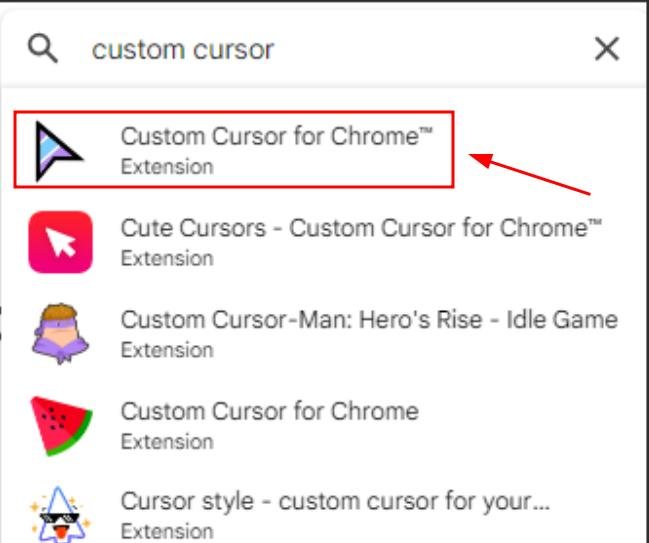
6. Search for and Install “Custom Cursor for Chrome” Extension
In the Chrome Web Store, search for “Custom Cursor for Chrome.”
Click “Add to Chrome.”
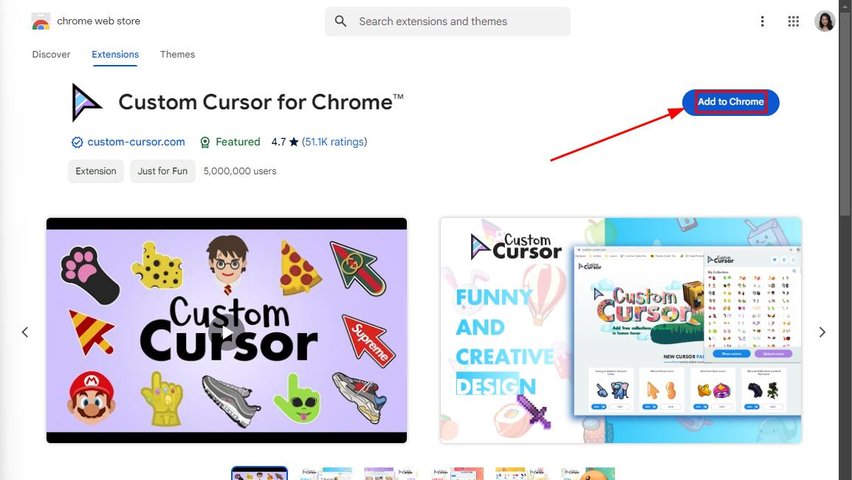
Confirm by selecting “Add extension” in the popup window.

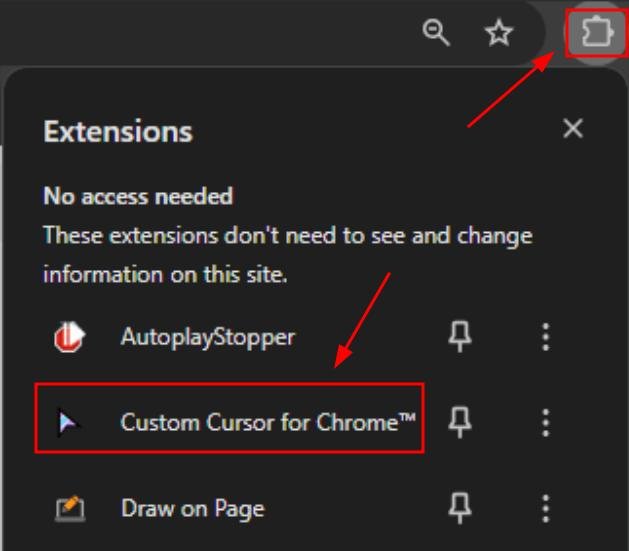
7. Open the Extension to Manage Mouse Cursor Settings
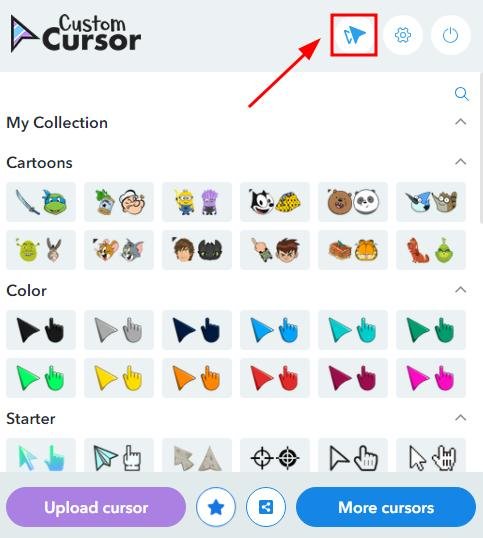
Once installed, click the “Custom Cursor for Chrome” icon in your extensions toolbar.
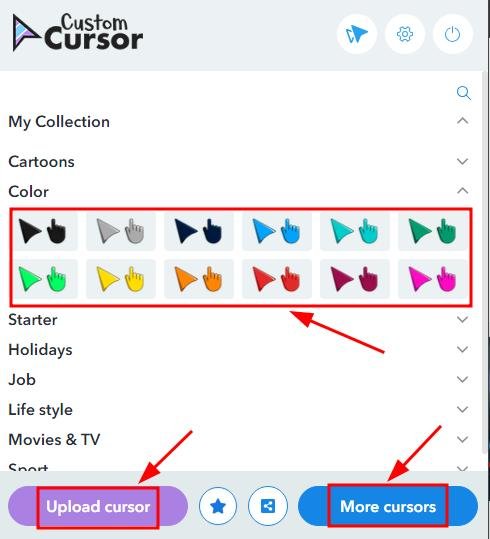
Choose a cursor style or size to customize the appearance of your mouse. You can upload your own cursor by clicking “Upload cursor” or browse for more custom cursors on “More cursors.”
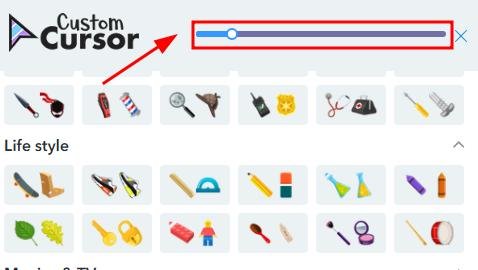
You can also change the size of your cursor by clicking this icon.
Move the slider to the right to make it larger or smaller by sliding it to the left.
8. Change Cursor Speed Settings
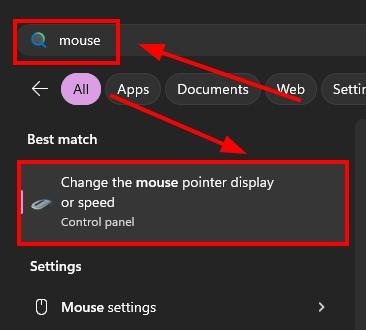
Open the Start menu on your device.
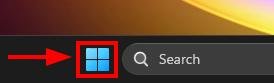
Search “Mouse.” Click on the result “Change the mouse pointer display or speed.”
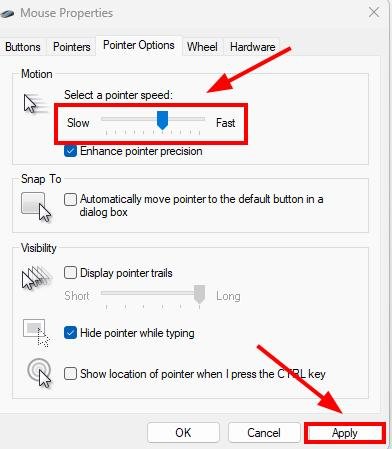
Move this slider to the left to slow the cursor speed down or right to make it faster. Click “Apply” to make the changes.
We hope that you now have a better understanding of managing Chrome’s mouse settings. If you enjoyed this article, you might want to check our articles on how to access Chrome autoplay settings and how to change Chrome color settings.