Google Chrome Extension to Track Time Spent on Websites (2025)
In this tutorial, we will show you exactly how to use a Google Chrome extension to track time spent on websites in just a few simple steps. Read on to learn more.

Track Time Spent on Websites Using a Google Chrome Extension
Follow the steps below to track the time spent on websites using a Chrome extension.
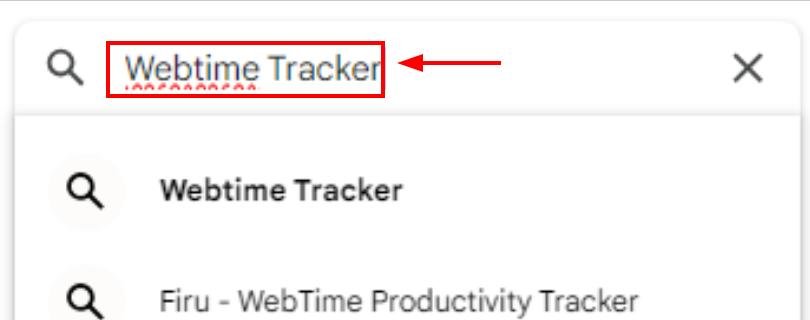
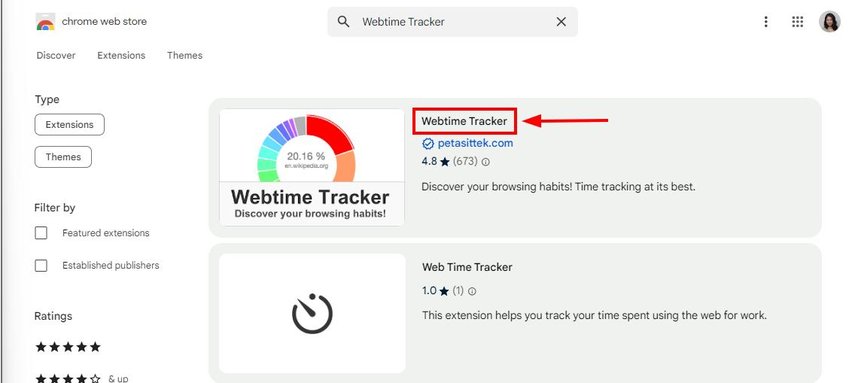
1. Search for “Webtime Tracker” in the Chrome Web Store
Open the Chrome Web Store and search for “Webtime Tracker.” This extension is reliable for tracking time spent on websites and is up-to-date.
2. Add the “Webtime Tracker” Extension to Chrome
Select the extension.
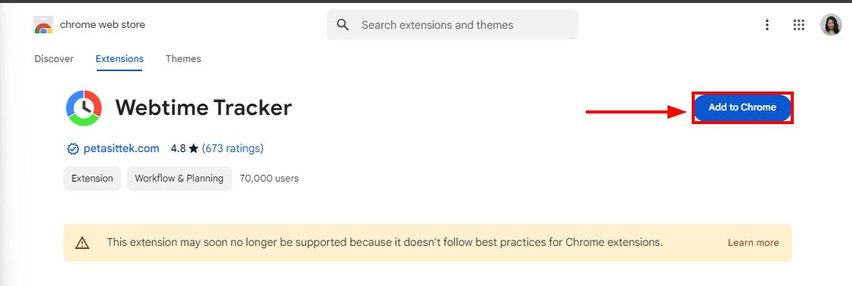
Click the “Add to Chrome” button when you find the extension.
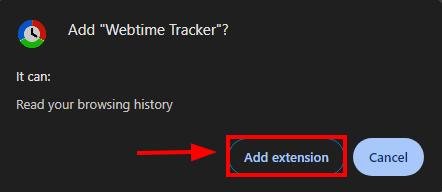
Confirm by clicking “Add extension” in the pop-up window. The extension icon will appear next to the address bar once installed.
3. Open the Extension to View Your Time Spent
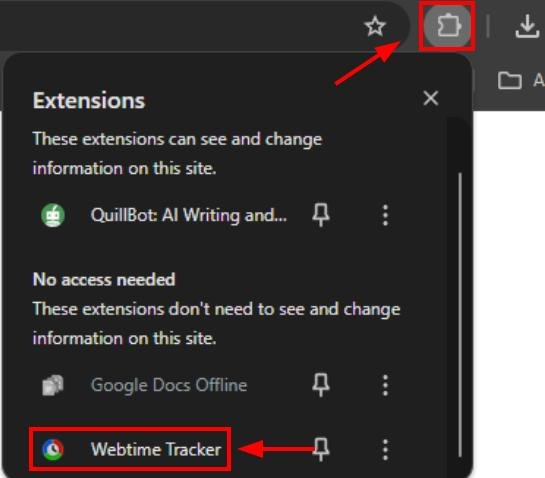
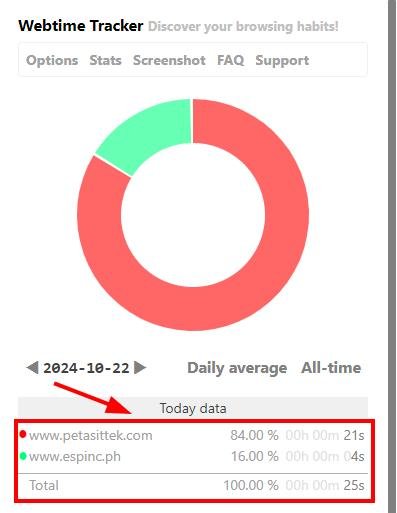
Click the “Webtime Tracker” from the list in the extensions toolbar (puzzle icon) to view a summary of the time spent on websites.
You’ll see the total time spent on each site for the day.
4. View Detailed Reports of Your Website Usage
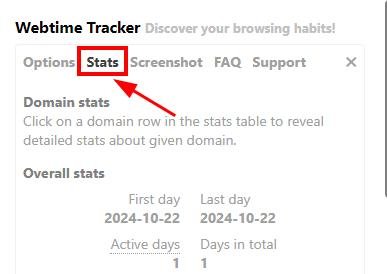
For more detailed insights, click the “Stats” tab inside the extension. This will show a timeline, daily statistics, and visual reports of your browsing habits.
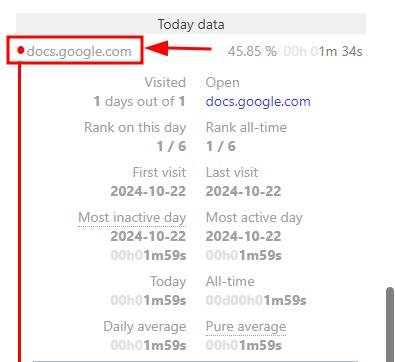
Click on each website to view the detailed statistics.
5. Export Your Data from Webtime Tracker
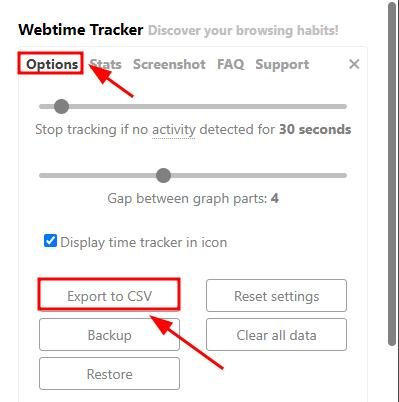
On the “Options” tab, you can choose to export your data by clicking on “Export to CSV.”
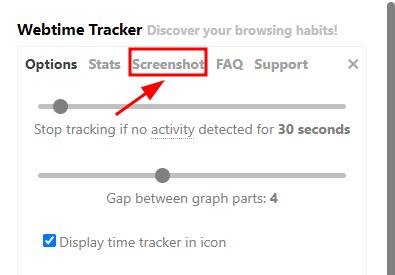
Alternatively, you can grab a screenshot of the stats using the “Screenshot” tab.
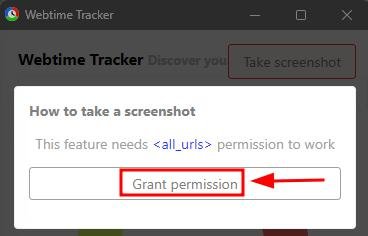
Select “Grant permission.”
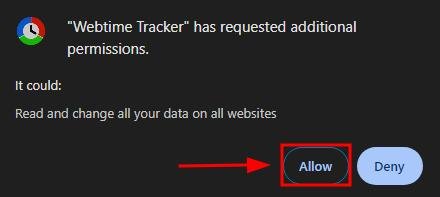
Click “Allow.”
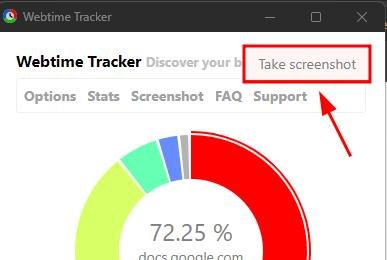
To take a screenshot of the data, click on “Take screenshot.” The photo will be downloaded to your computer shortly after.
We hope that you now have a better understanding of tracking time spent on websites using a Chrome extension. If you enjoyed this article, you might want to check our articles on how to allow only one website in Google Chrome and how to resolve the “Google Chrome Helper attempted to access a secure website” message.

