How to Add a Toolbar to Google Chrome (2025 Update)
In this article, we will show you how to add a toolbar to Google Chrome. Simply follow the steps below.

How to Add a Toolbar to Chrome
Follow the steps below to add a toolbar to Chrome:
1. Open the Chrome Menu
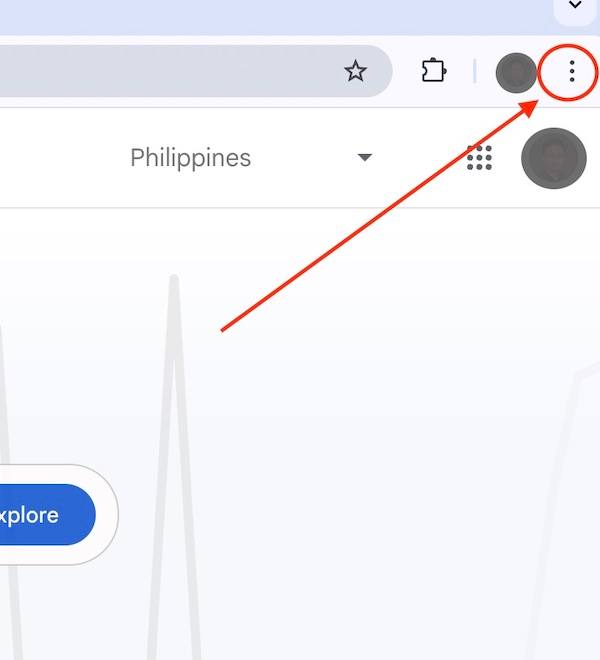
Click on the “three vertical dots” in the top-right corner of your Chrome browser. This opens the menu where you can access various settings.
2. Go to Settings
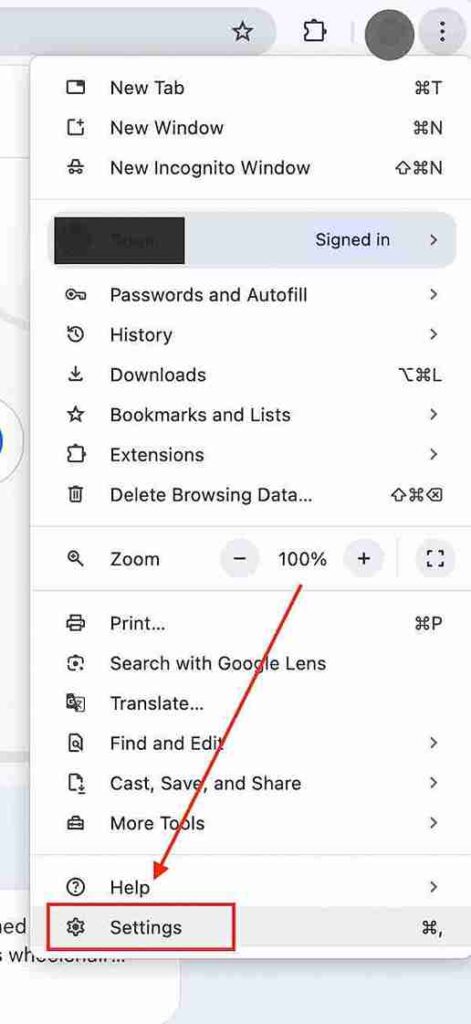
From the menu, click “Settings.” This will open a new page where you can customize how Chrome looks and functions.
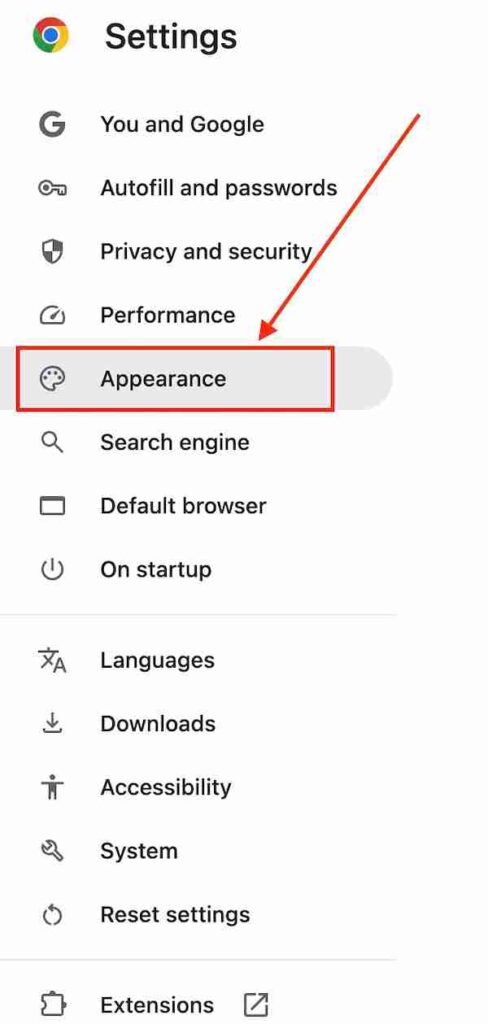
3. Go to Appearance
On the left side of the Settings page click the “Appearance” section. This section allows you to adjust the visual elements of your browser, including toolbars.
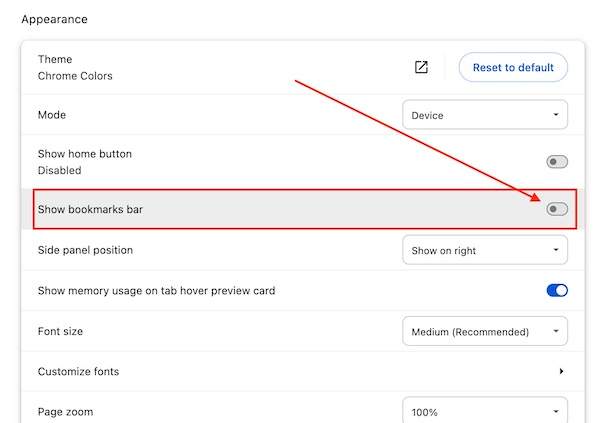
4. Show Bookmarks Bar
In the Appearance section, find the option labeled “Show bookmarks bar” and toggle the switch to turn it on. This action will add a bookmarks toolbar in your Chrome browser.
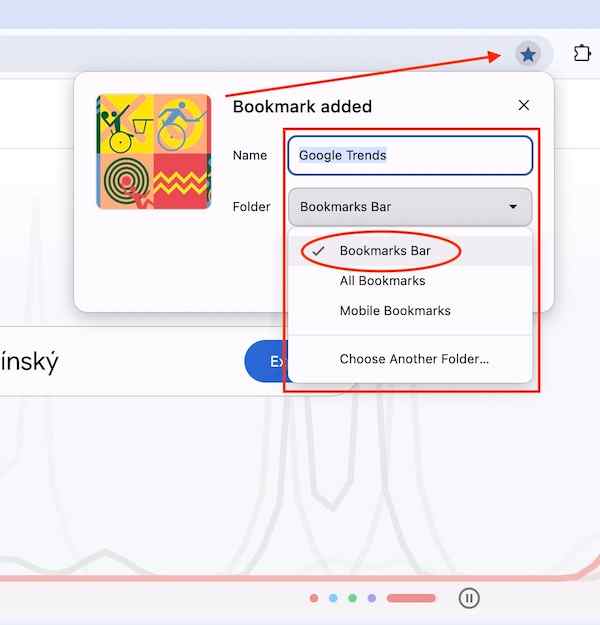
5. Add Your Favorite Sites
Populate your new toolbar with your favorite websites. Navigate to a site you want to save, then click the star icon located in the right side of the address bar. This will open a dialog where you can name the bookmark and then choose to save it to the “Bookmarks Bar” folder.
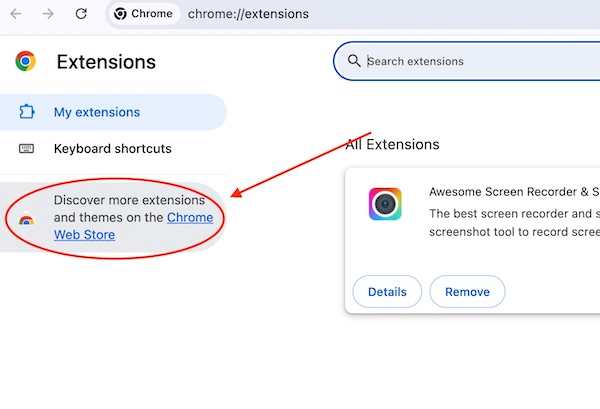
6. Add More Toolbars with Extensions
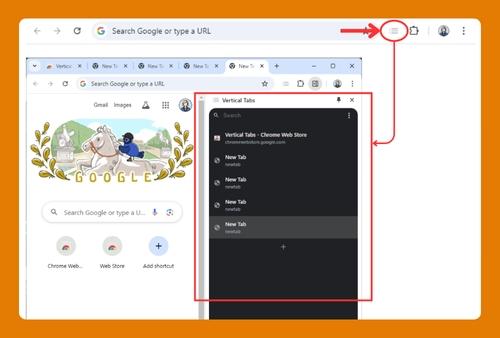
If you need additional toolbars or functionality, return to the “Settings” menu and select “Extensions.”
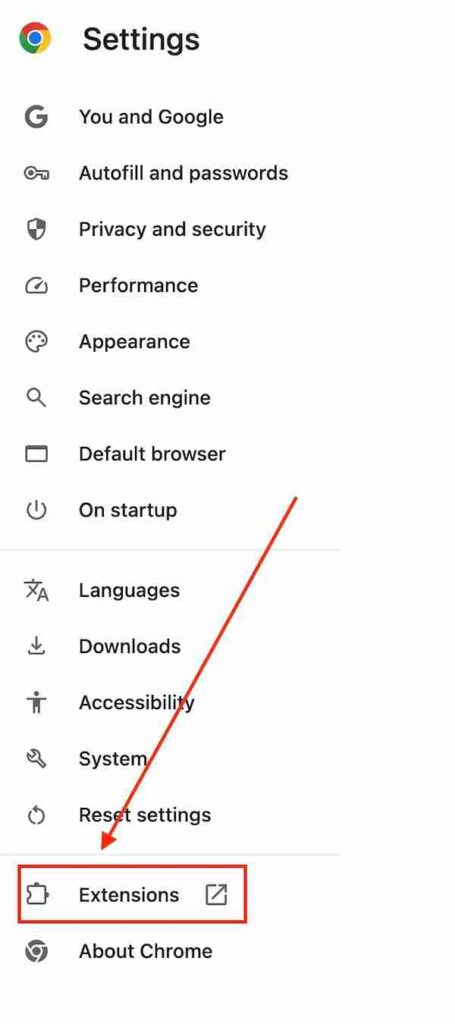
Here, you can browse and install extensions that provide extra toolbars or other features.
We hope you now know how to add a toolbar in Google Chrome. If you enjoyed this article, you might also like our articles on how to add extensions to Chrome toolbar and how to add websites to your Chrome homepage.

