How To Add Extensions To Chrome Toolbar (Easiest Way in 2025)
In this article, we will show you how to add an extension to your Chrome toolbar easily. Simply follow the steps below.

Add Chrome Extensions to the Toolbar
Follow the process to add Chrome extensions to the toolbar in Google Chrome.
1. Open Chrome Browser
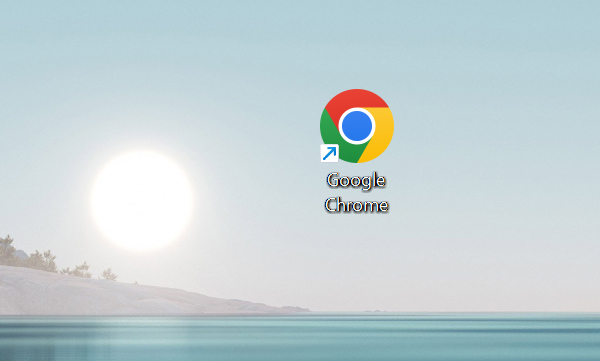
Open the Google Chrome browser on your computer. Look for the colorful circle icon with red, yellow, green, and blue. Click to open.
2. Access the Extensions Menu
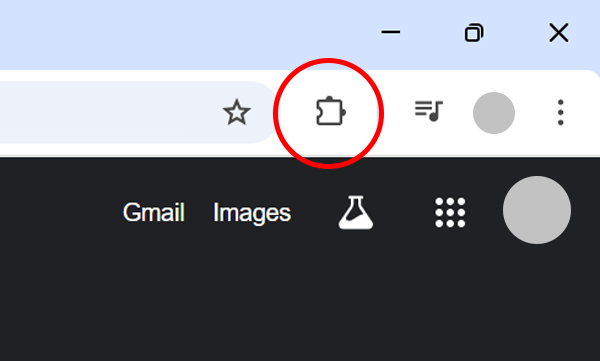
Find the puzzle piece icon on the right side of the Chrome toolbar. Click on it. This is the Extensions Menu, where all your installed extensions are listed.
3. Manage Your Extensions
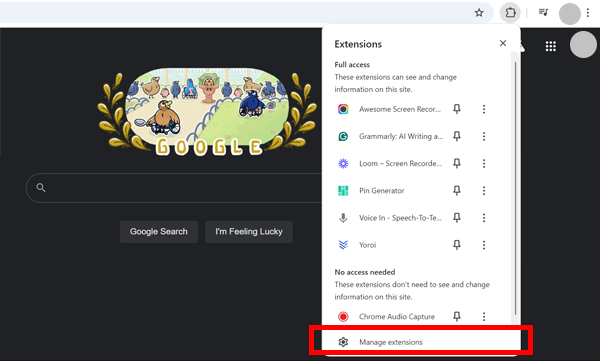
In the Extensions Menu, click on “Manage Extensions” at the bottom. This will open a new tab showing all the extensions installed on your browser.
4. Pin the Extension to the Toolbar
Locate the extension you want to add to the toolbar. Toggle the switch next to it to “On” if it is “Off”.
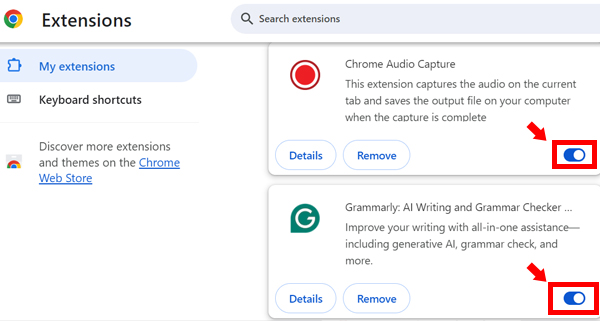
5. Verify if the Extension is Visible
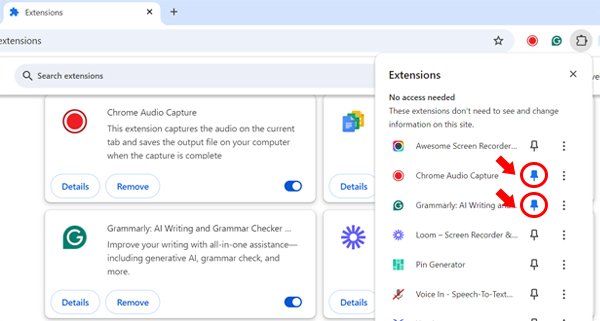
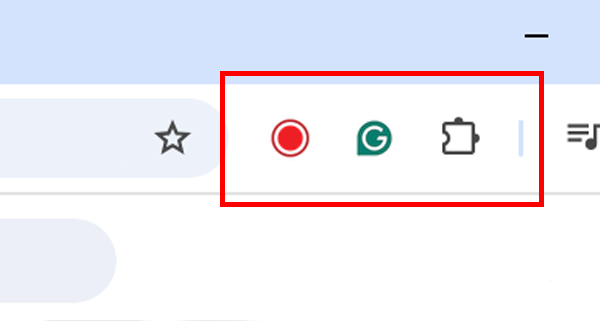
Look at the toolbar at the top right corner of your Chrome browser. Click on the pin icon next to the extension name to add it to the toolbar. The extension icon should now be visible. If you don’t see it, click the puzzle piece again to make sure it is pinned correctly.
6. Adjust Toolbar Visibility Settings
If needed, drag the extension icons to your preferred position on the toolbar. Right-click on the icon for more options, like hiding or removing from the toolbar. Once done, your extension icons should line up accordingly.
We hope that you now have a better understanding of how to add an extension to Chrome toolbar.
If this was helpful, you might also want to check our guide on how to add a toolbar to Chrome and how to remove email address from autofill in Chrome.

