How to Disable Add-Ons in Chrome (Easiest Way in 2025)
In this article, we will show you how to disable add-ons in Chrome. Simply follow the steps below.

How Do I Disable Add-Ons in Google Chrome?
Follow the steps below to disable add-ons in Chrome.
1. Open Chrome and Access the Menu
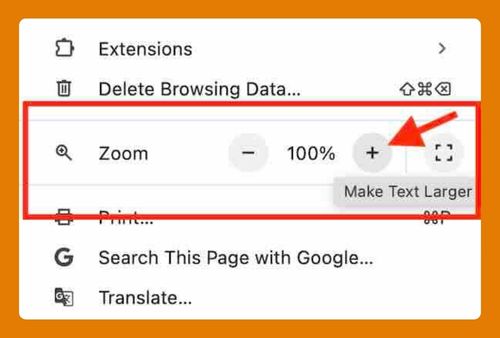
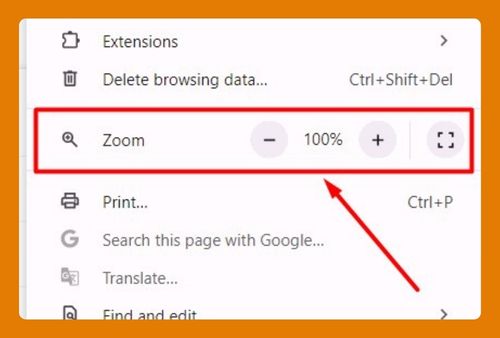
In your Chrome browser, look for the three vertical dots in the upper right corner. Click on it to open a dropdown menu.

2. Select “Extensions” and Click “Manage Extensions”
In the dropdown list, hover your cursor over “Extensions” and then click on “Manage Extensions.” This will take you straight to the page where all your add-ons are displayed.

3. Find the Add-Ons You Want to Disable
In the ‘Extensions‘ tab, you will see a list of all your installed add-ons. Each extension will have a small description, an icon, and a toggle switch.

4. Click the Toggle Switch to Disable the Add-Ons
To disable an add-on, simply click the toggle switch next to it. If the switch turns gray, the extension is successfully disabled. If the switch is blue, the extension is still active.

5. Restart Chrome (If Needed)
In some cases, you may need to restart Chrome for changes to take effect. Close all Chrome windows and reopen the browser to ensure that the disabled add-ons are no longer running.
We hope you now have a better understanding of how to disable add-ons in Google Chrome. If you enjoyed this article, you might also like our article on how to add a Pinterest extension to Chrome or our article on how to add LastPass to Chrome.

