How to Screenshot on Google Chrome (Easiest Way in 2025)
In this article, we will show you how to screenshot on Google Chrome. Simply follow the steps below.
How to Take a Screenshot on Google Chrome
Here’s how to take a screenshot in Google Chrome:
1. Navigate to the Page You Want to Capture
In your Google Chrome browser, navigate to the webpage that contains the content you wish to capture. Ensure that the content is fully visible and the page is completely loaded.
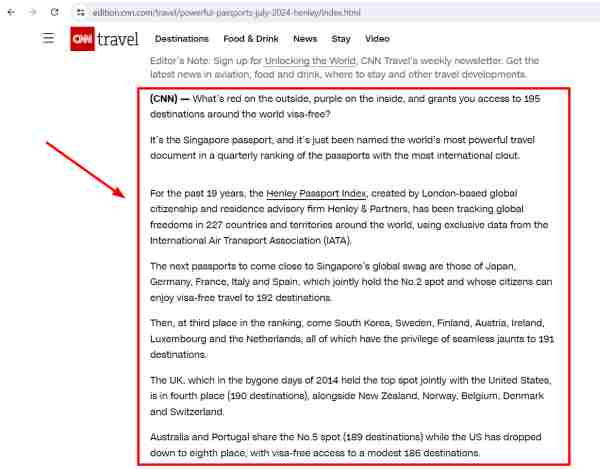
In our example, we will navigate to CNN’s article titled “The World’s Most Powerful Passports for 2024”.

2. Choose Your Screenshot Area: Entire Screen, Window, or Selection
Decide what you need to capture: the entire screen, a specific window, or just a particular area of the screen. Each option serves different purposes; the entire screen captures everything on your display, a specific window captures only the active window’s contents, and a selection allows you to manually select a region of the screen.
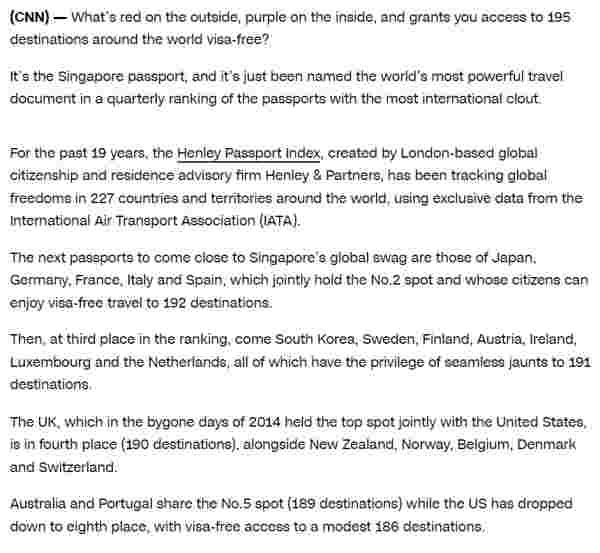
For our example, we will choose to screenshot a particular area of the screen, which is the news introduction section of our chosen article.
3. Activate Developer Tools and Select Screenshot Type
For Windows users: Press `Ctrl` + `Shift` + `I` to open the Developer Tools, which appear at the bottom or side of your browser.
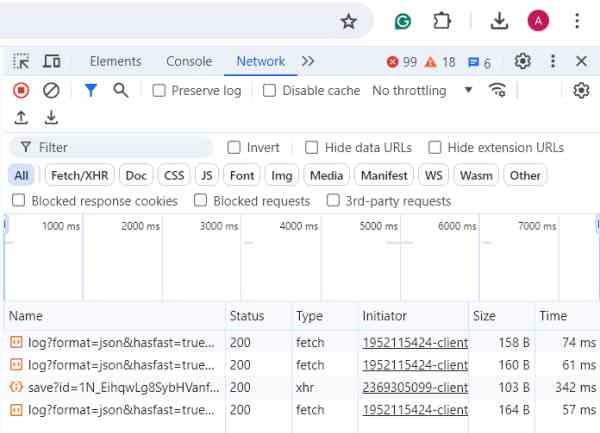
Then, press `Ctrl` + `Shift` + `P` to bring up the Command Menu, where you can type “screenshot.” This command provides options to capture the full webpage, just the visible part, or a specific HTML node.
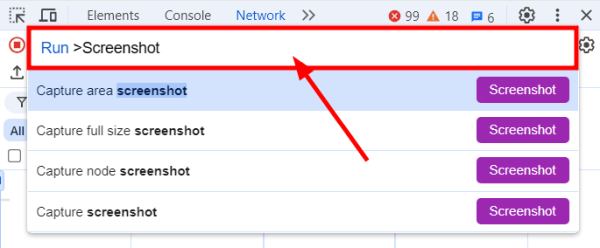
Select the desired option based on your earlier decision about what part of the page you want to capture. In our example, we will choose the “Capture area screenshot” option. This option allows us to manually select and capture a specific area of the webpage you are viewing.
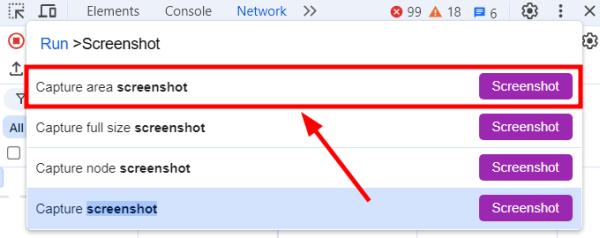
Mac users should use `Cmd` + `Option` + `I` to open Developer Tools and `Cmd` + `Shift` + `P` for the Command Menu, then follow the same steps.
4. Download the Screenshot Automatically to Your Computer
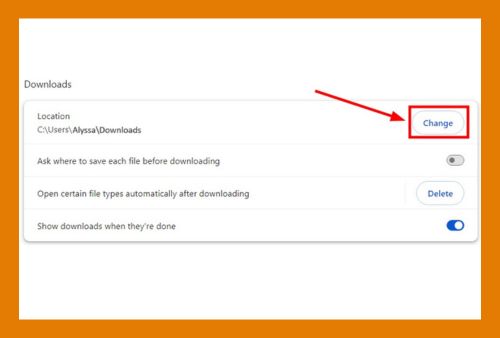
Once you select your screenshot type, Chrome will automatically capture and download the image to your default download folder. You can find this file in the Downloads folder, ready to be edited, moved, or shared as needed.

We will now see that our selected area—specifically, the news introduction section on our chosen article—is captured.
5. Close Developer Tools After Taking Your Screenshot
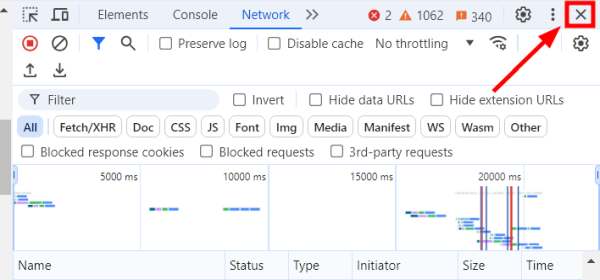
After capturing and saving your screenshot, close the Developer Tools to clear your workspace and return to normal browsing. You can close the tools by clicking the ‘X’ at the corner of the panel or by using the same keyboard shortcuts you opened it with: `Ctrl` + `Shift` + `I` for Windows or `Cmd` + `Option` + `I` for Mac.
We hope that you now have a better understanding of how to do a screenshot on Google Chrome. If you enjoyed this article, you might also like our articles on how to screen record using a Chrome extension for free and how to reduce screen size in Chrome.

