Screen Recording in Chrome Extension for Free (2025)
In this article, we will show you how to screen record using the Chrome extension for free. Simply follow the steps below.

Screen Record With a Chrome Extension for Free
Follow the steps below to screen record using the Chrome extension for free.
1. Select and Add a Free Screen Recording Extension from the Chrome Web Store
Select a reliable and free screen recording extension from the Chrome Web Store. A popular choice for many users is “Screencastify” because it’s user-friendly and offers essential recording features without cost.
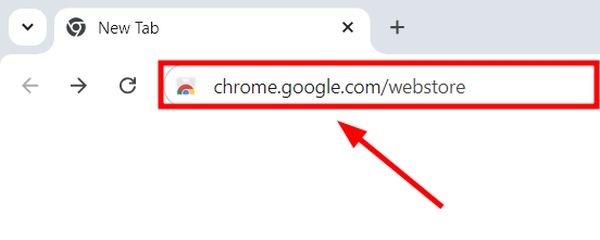
To do this, navigate to the Chrome Web Store by typing ‘chrome.google.com/webstore‘ into your search engine.
In the search bar at the top right, type “Screencastify” and press enter.

Once you find the Screencastify extension in the search results, click on it.

2. Confirm Installation of the Extension
After selecting the extension, you’ll see a detailed page with a blue button labeled ‘Add to Chrome’. Click this button.

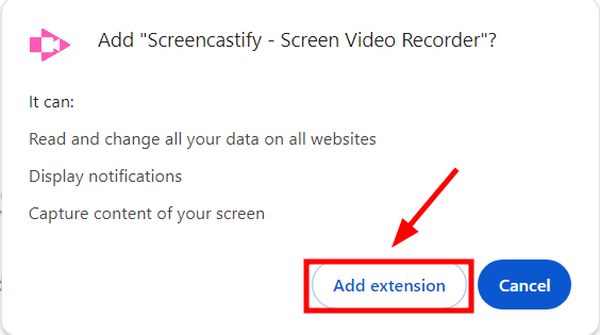
A pop-up will appear, asking you to confirm the installation. Click ‘Add extension’. This will integrate the extension into your Chrome browser, enabling screen recording functionalities.
3. Access and Adjust the Screen Recording Settings
Click the newly appeared Screencastify icon in your browser’s toolbar.

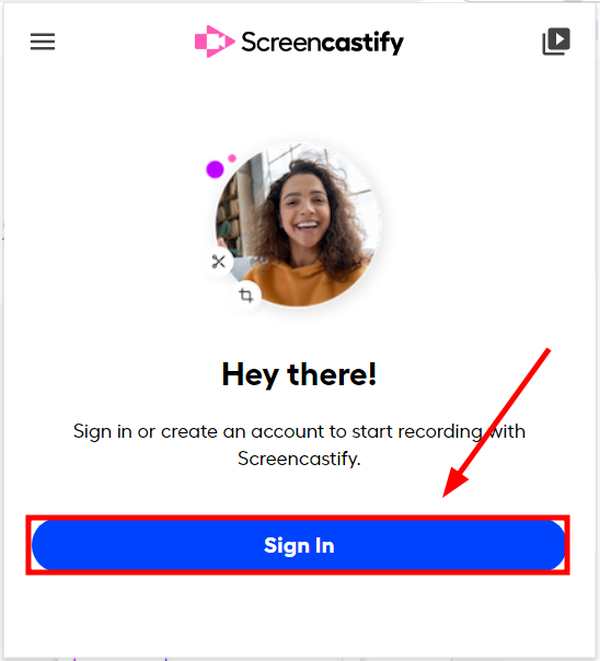
The first time you click the icon, you might be prompted to sign into the extension using a Google account or another email provider. Follow the instructions to sign in.
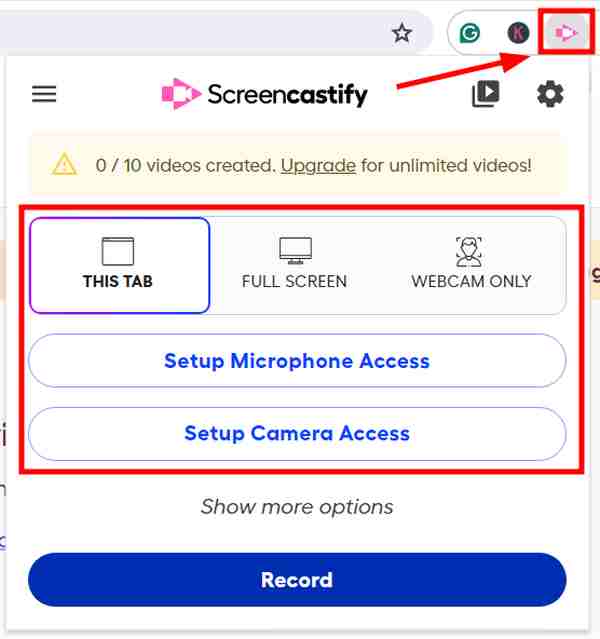
Then, click the Screencastify icon again in the browser’s toolbar. Here, you can choose whether to record your entire desktop, a single browser tab or use your webcam for recording. You can also set preferences for audio recording, like whether to include ambient sound from a microphone or capture system sounds.
4. Begin Screen Recording with Your Chosen Settings
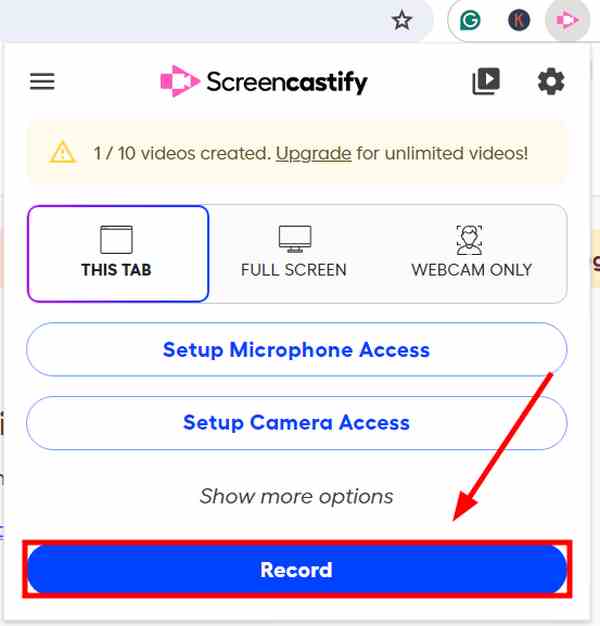
To begin recording, click the ‘Record’ option. A countdown will usually appear, giving you a moment to prepare before the recording starts.
5. Control and Manage Your Active Recording
During the recording, the control toolbar provides options to pause or stop your recording. Use the pause button to halt the recording temporarily—useful if you need to prepare the next part of your presentation or navigate between tabs without recording these actions.

The stop button will end the recording session entirely.

6. Save and Share the Recorded Video
After you stop the recording, Screencastify will automatically open a new tab where you can preview your video. From here, you can rename the file, trim the recording, or choose to save it either locally on your computer or on Google Drive.
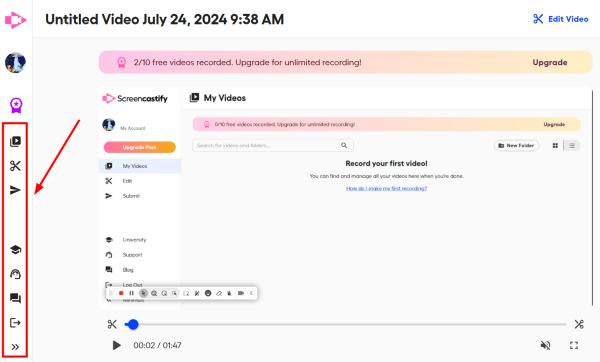
There are also options to share the recording directly via email, social media, or by creating a shareable link.

We hope that you now have a better understanding of how to screen record with a Chrome extension for free. If you enjoyed this article, you might also like our articles on how to take a screenshot on Google Chrome and how to refresh a browser in Chrome.

